A few weeks ago I’ve had the great opportunity to attend the awesome Hacker Camp in Shenzhen, hosted by Ian Lesnet from DangerousPrototypes. I could say a lot about that incredible experience, so I’ll start by sharing an experiment I did to explore Shenzhen’s manufacturing ecosystem.
The idea
Shenzhen is a big city where you can find entire buildings packed with people selling and buying all kind of electronic components. A lot has been written about the markets, like Bunnie’s poem, but no words, pictures or videos can describe what you’ll find there.
So, I had a few spare days to hang around in this city while waiting for some money to be transfered and I decided to see if I could develop an electronic device from idea to product in 24 hours. I also had the perfect device in mind, a very simple clone of the classic Annoy-A-Tron, making cricket sounds at random times, to hide inside my friend’s house when he got married a week after I got back from China. The first name I came up for the project was a boring “AnnoyingThing”, but I later decided to name it “Grillino” instead as a mix of “Grillo” (cricket in italian) and “Arduino”. It’s also a word play on my real surname and a nickname for people following a certain italian political group, so I can sleep at night knowing that this post will never come up on Google’s first result page when people look for it! :)
Prototyping
A microcontroller, a battery and a piezo speaker is all that’s needed for a project like that; after briefly checking around the internet for similar projects, I found a few examples and decided to base my device on a small micro like the ATTiny85. That’s way overpowered for the task but will help me recycle the project after the joke gets old.
With a rough idea in my mind, at 10:00 I headed to the markets to buy an arduino and some piezo speakers to test the design.
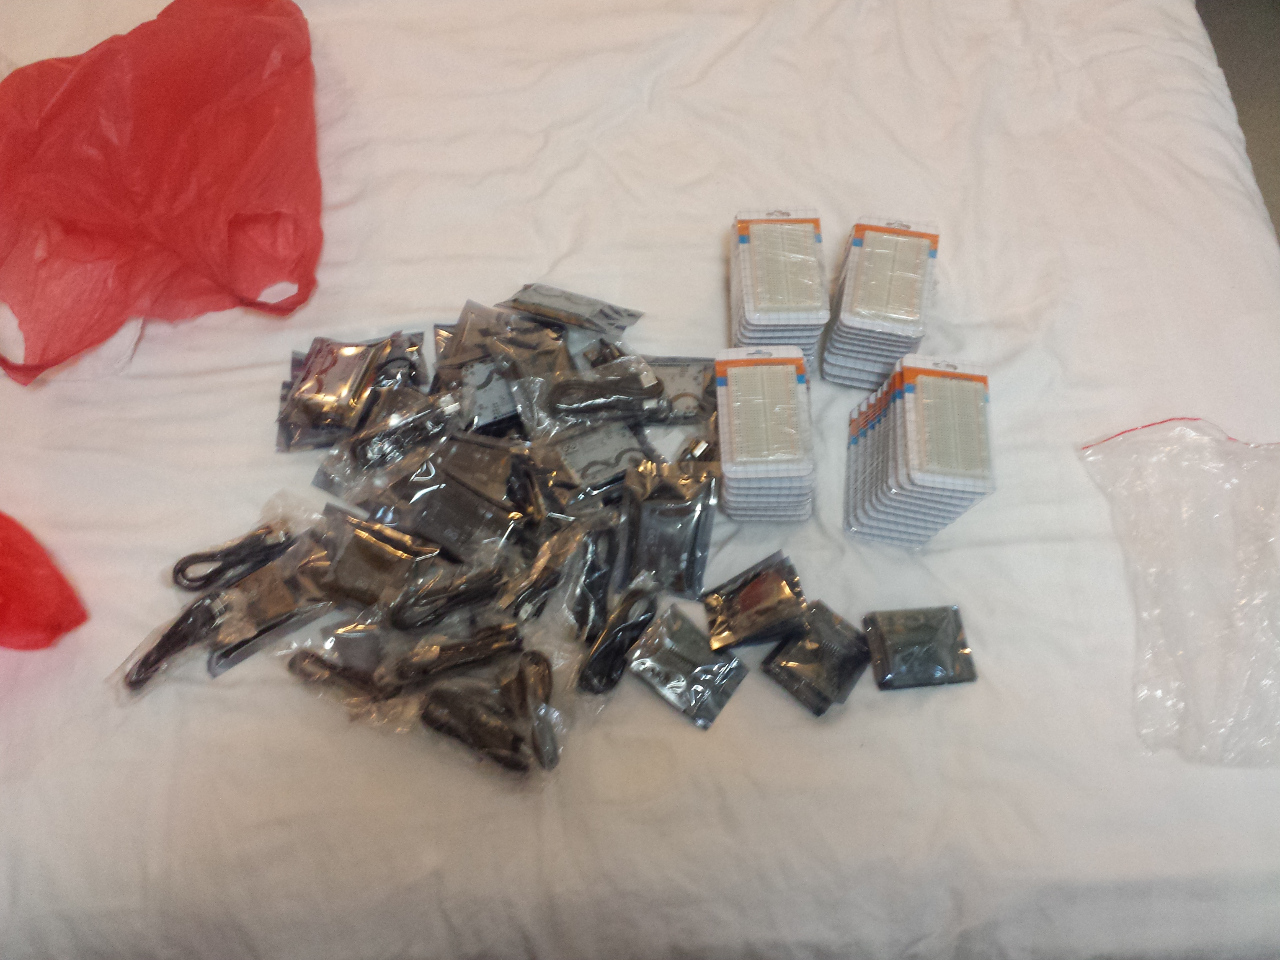
Things got quickly out of hand, and by 12:00 I found myself with a bag full of arduinos and breadboards. Curiosly, even here in the world’s electronics capital, there is only a relatively small hackerspace, and the reason is simple: you can buy your own tools and build your own hackerspace (with blackjack and hookers) in your hotel room with a few hundred euros! And that may lead to some interesting hacks:
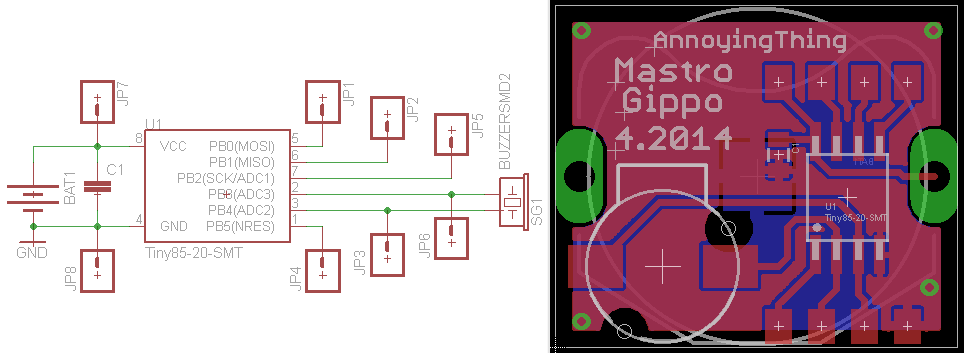
By the way, after some quick breadboard tests I decided this code was the best and started designing a PCB. I have mixed feelings about that website because the code is presented with just a screenshot; my heart wants to say “fuck you very much for making me mess around with OCRs”, but my brain knows that while difficult to access and index, I have to be thankful because it’s still open source and free… Oh well. I always listen to my brain anyway.
PCB design and manufacture
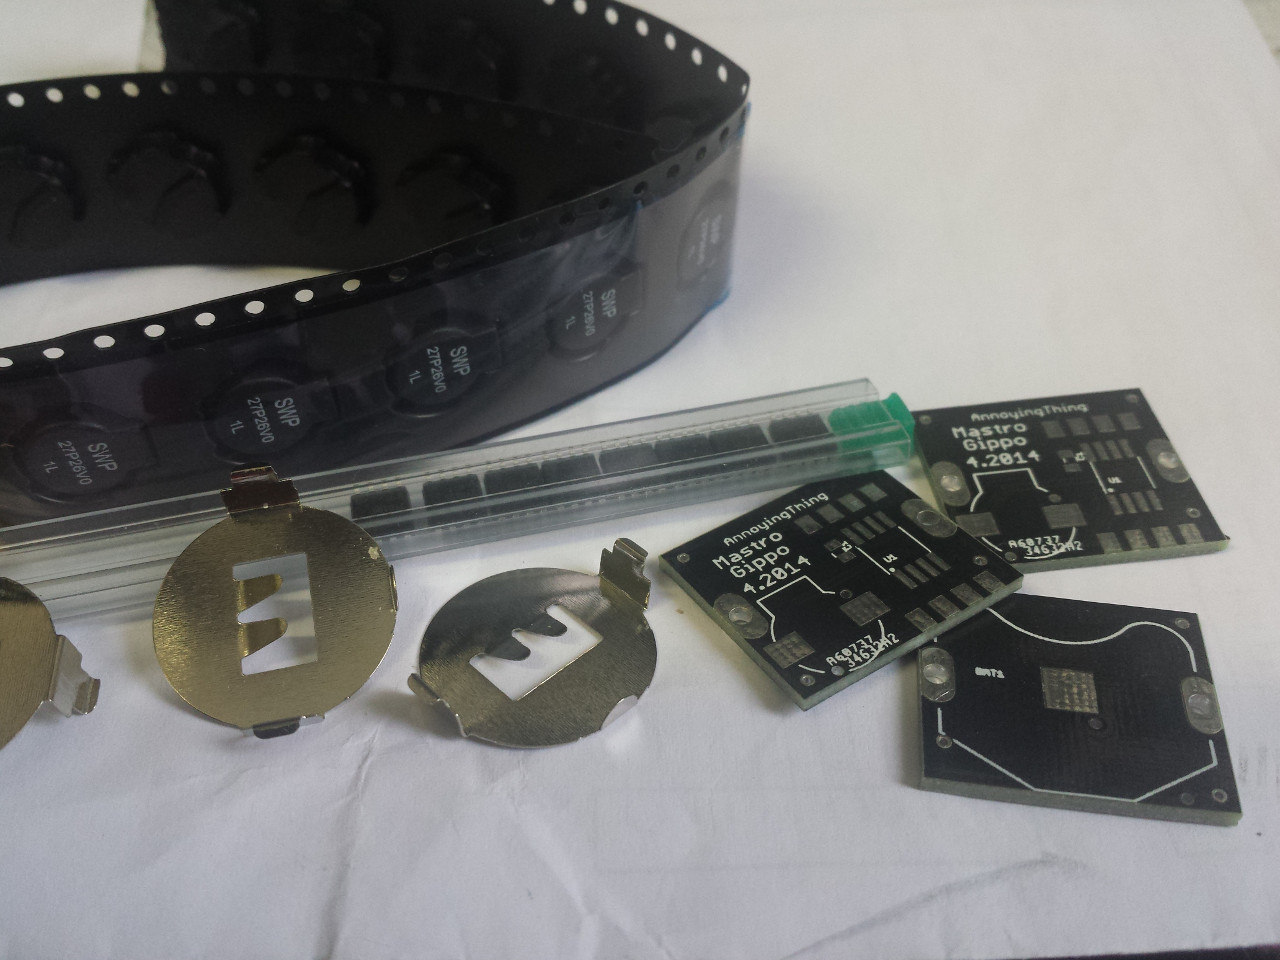
At about 14: 00 my PCB design was ready! I wanted a very small buzzer, and being very impressed by my LiPo monitor loudness I used a similar device in the design, even if I didn’t test it before.
So I got back to the markets to look for a PCB factory that could produce my PCB overnight, but the prices were too high (about 30 euro for 5 boards). I turned to my friends Ian and Jin, that just opened the awesome dirt cheap PCB manufacturing service and they just made them for me for free as a gift! I can’t thank you enough guys! Here we are, at dinner: Jin, Ian, Erin and Simon!

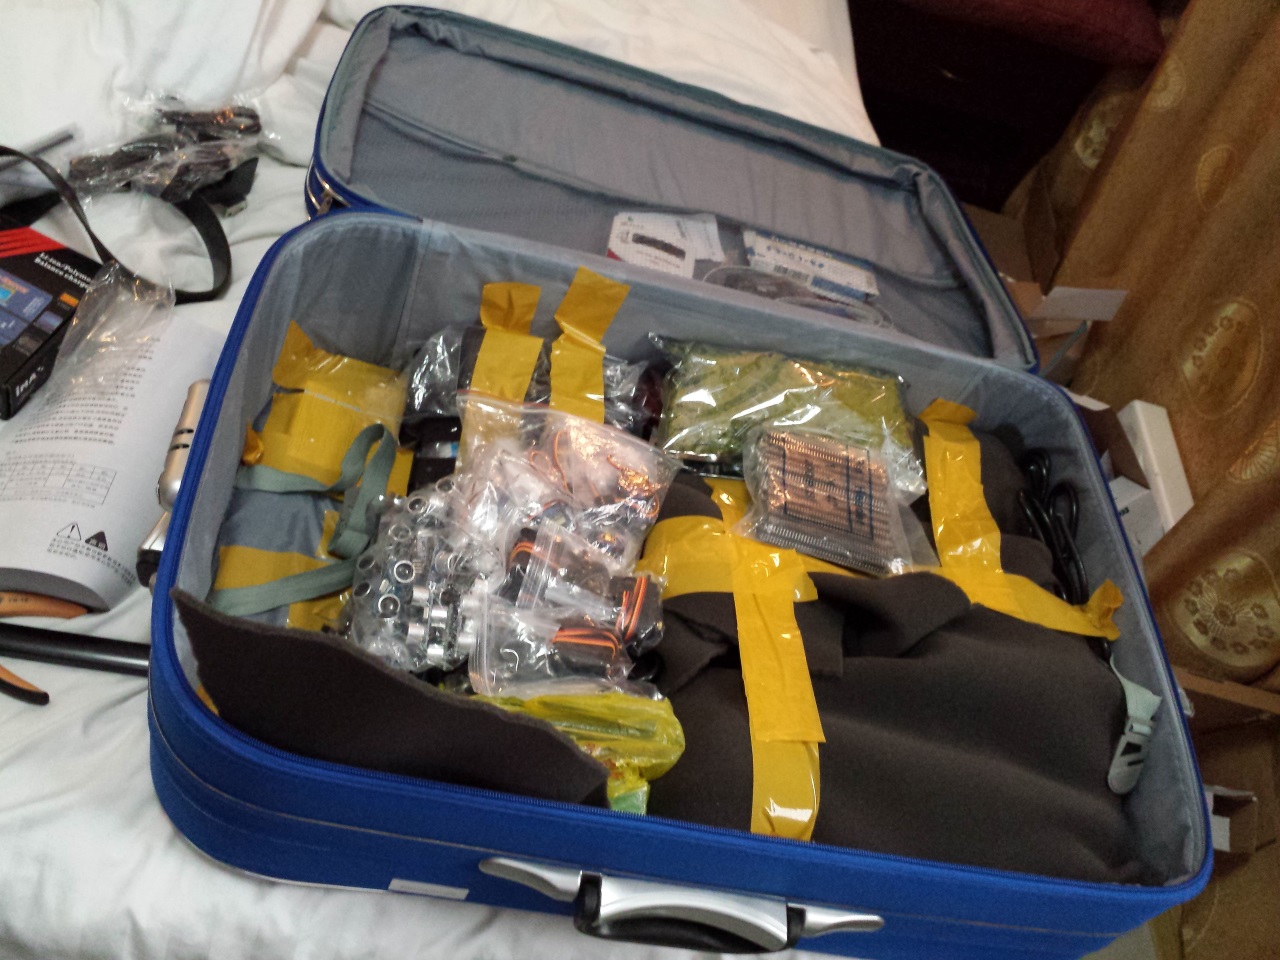
But this meant that I couldn’t finish the project in 24 hours… I actually got the PCBs on my last day in Shenzhen, so I had to complete the project when I got back home. I picked up 20 each of the final components from the market in a hurry, threw them in my baggage and ran out to have fun with the guys on my last night.
Assembling and testing
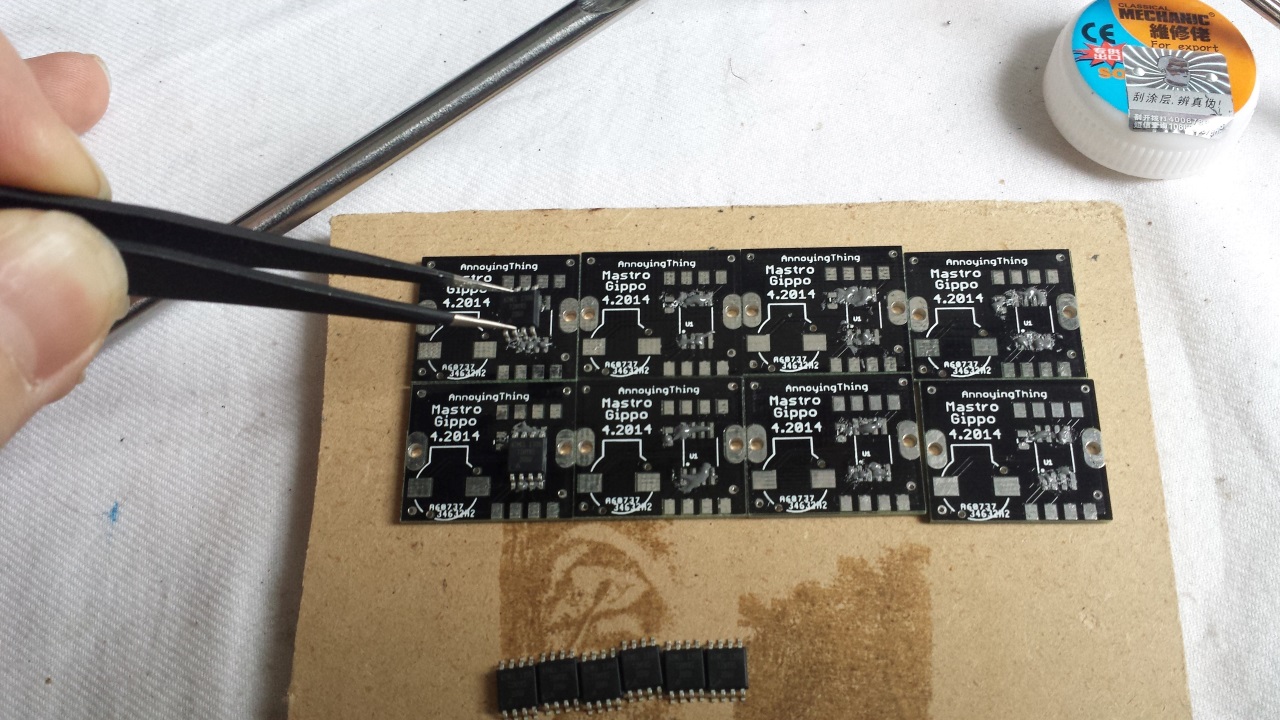
As soon as I got home I quickly assembled the first board to test it. I broke out all the ATTiny pins to the test pads and spaced them so I could solder standard pin headers on them and and place the circuit on a breadboard to test it:

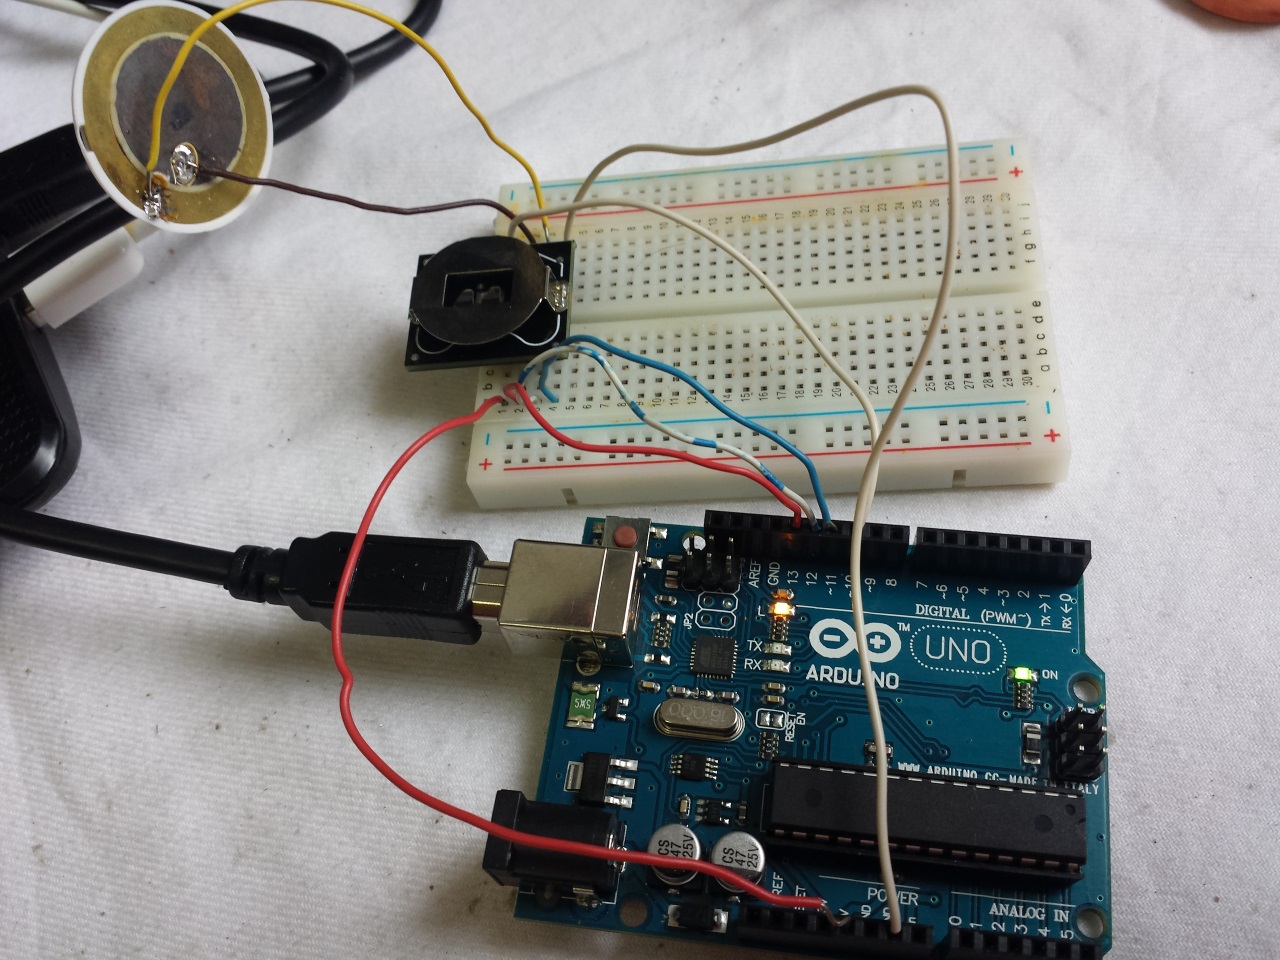
And here’s the first fail: the buzzers I purchased were not powerful enough and emitted only a very faint sound. Turns out they’re not piezo buzzers, but mini speakers, and the coin cell battery didn’t provide enough power to make them sound well:

So I had to use a standard piezo disc connected to the board with some wire. Oh well, shit happens when you’re in a hurry, I’ll deal with it in the next revision.
Small batch build
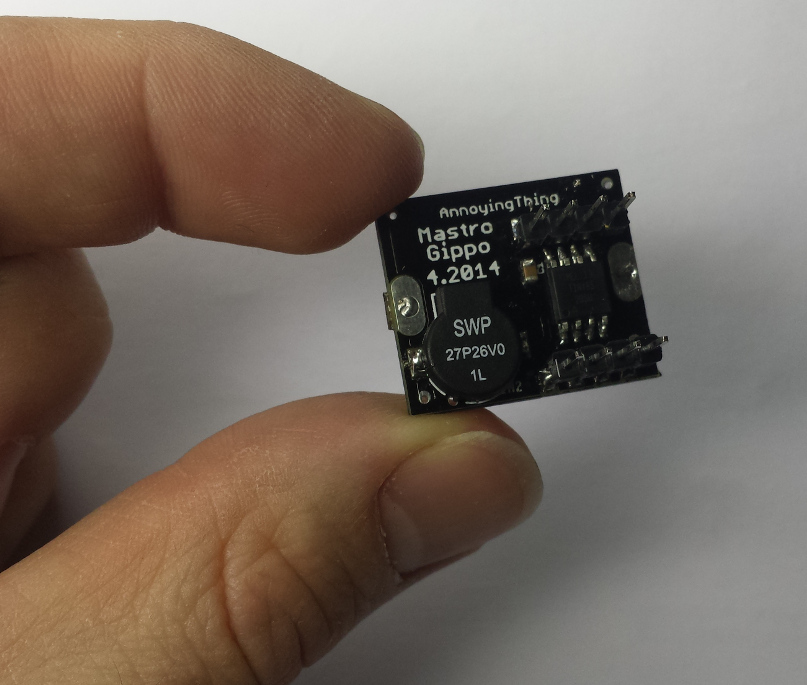
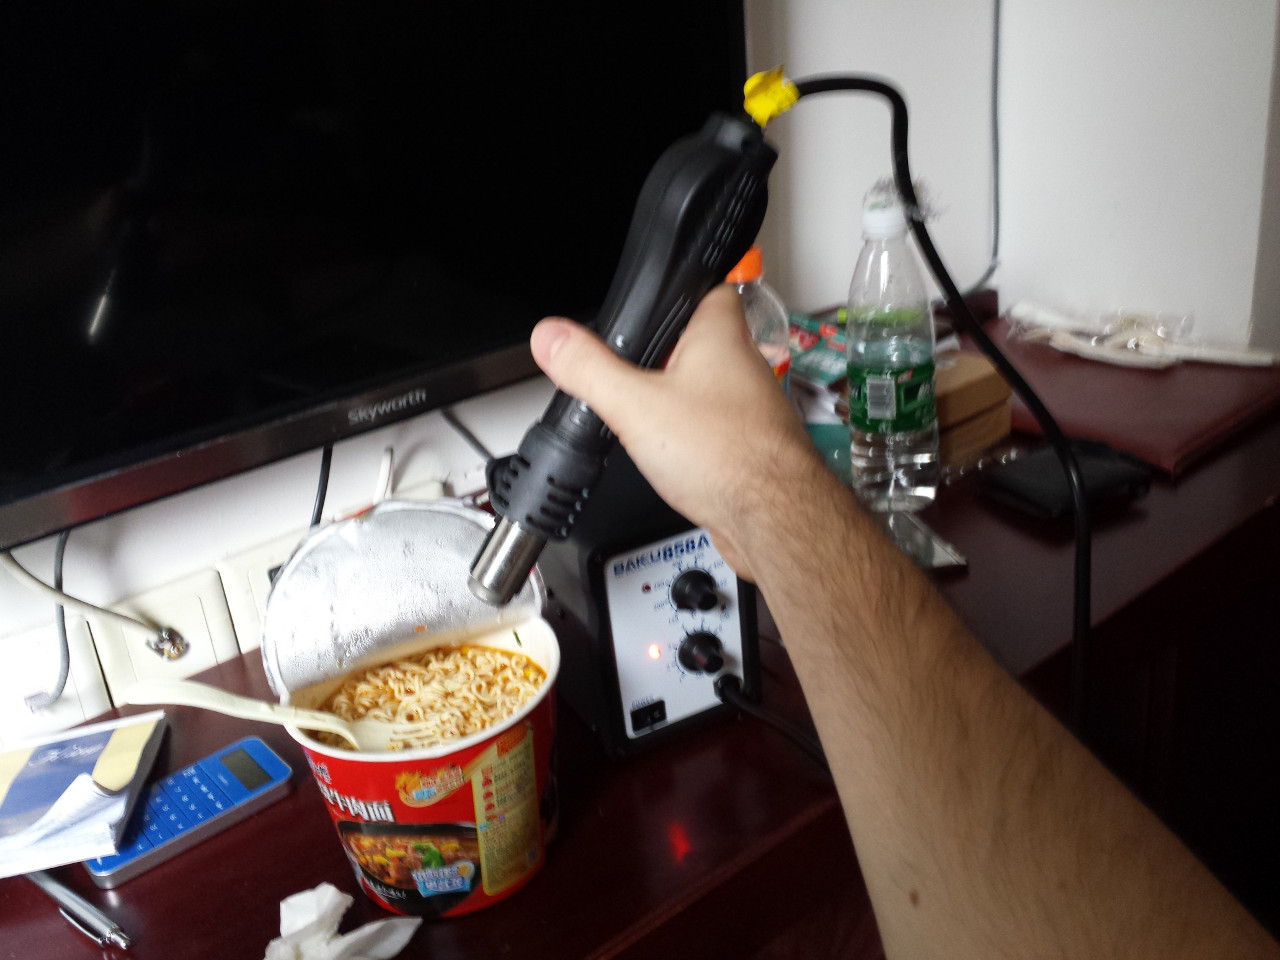
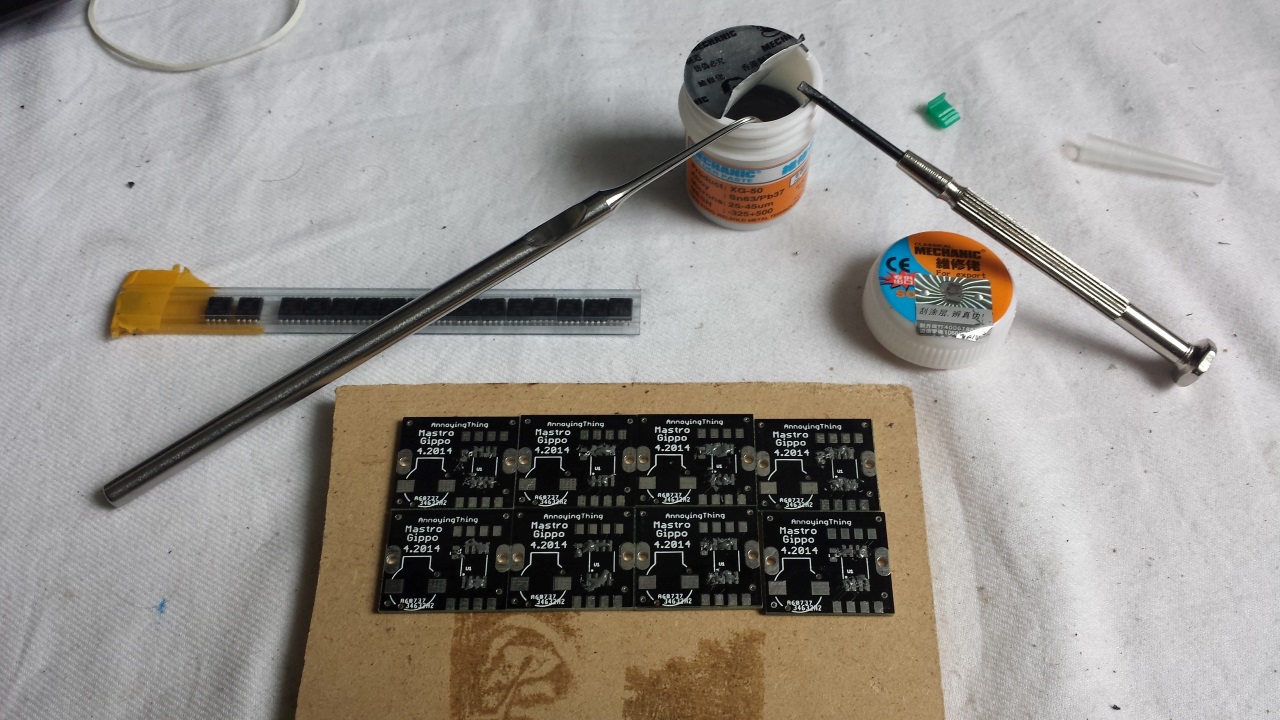
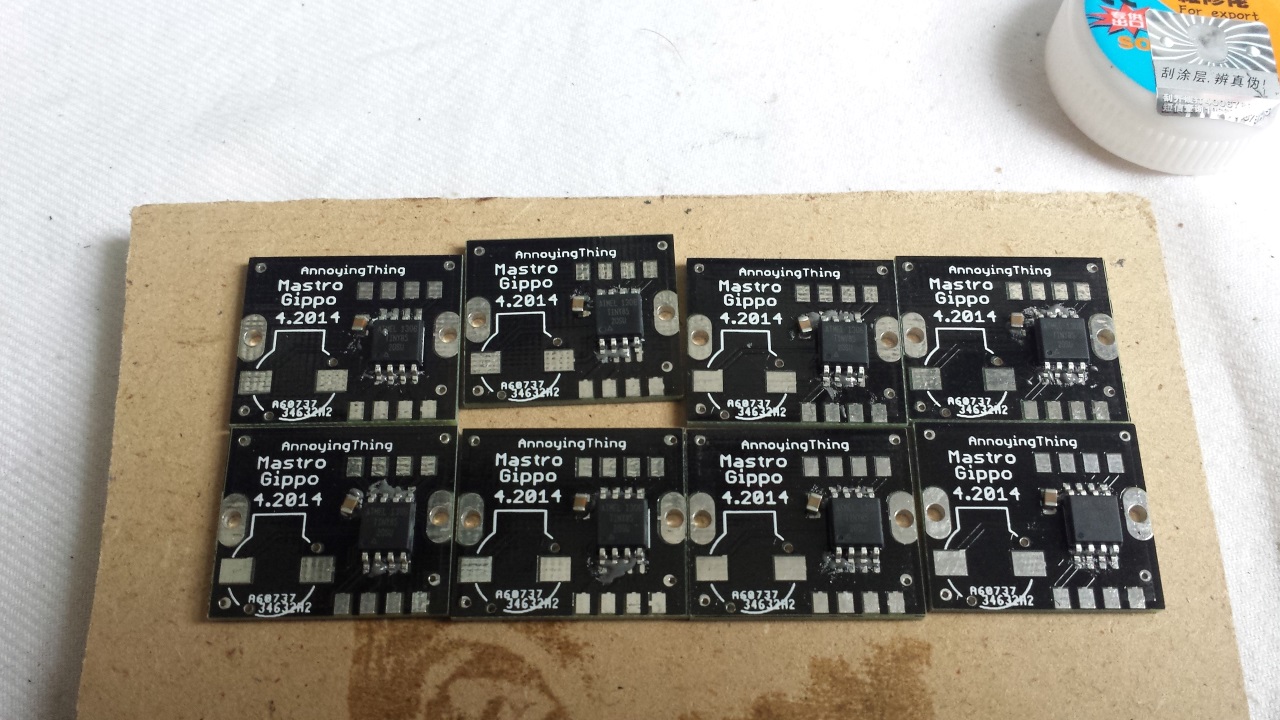
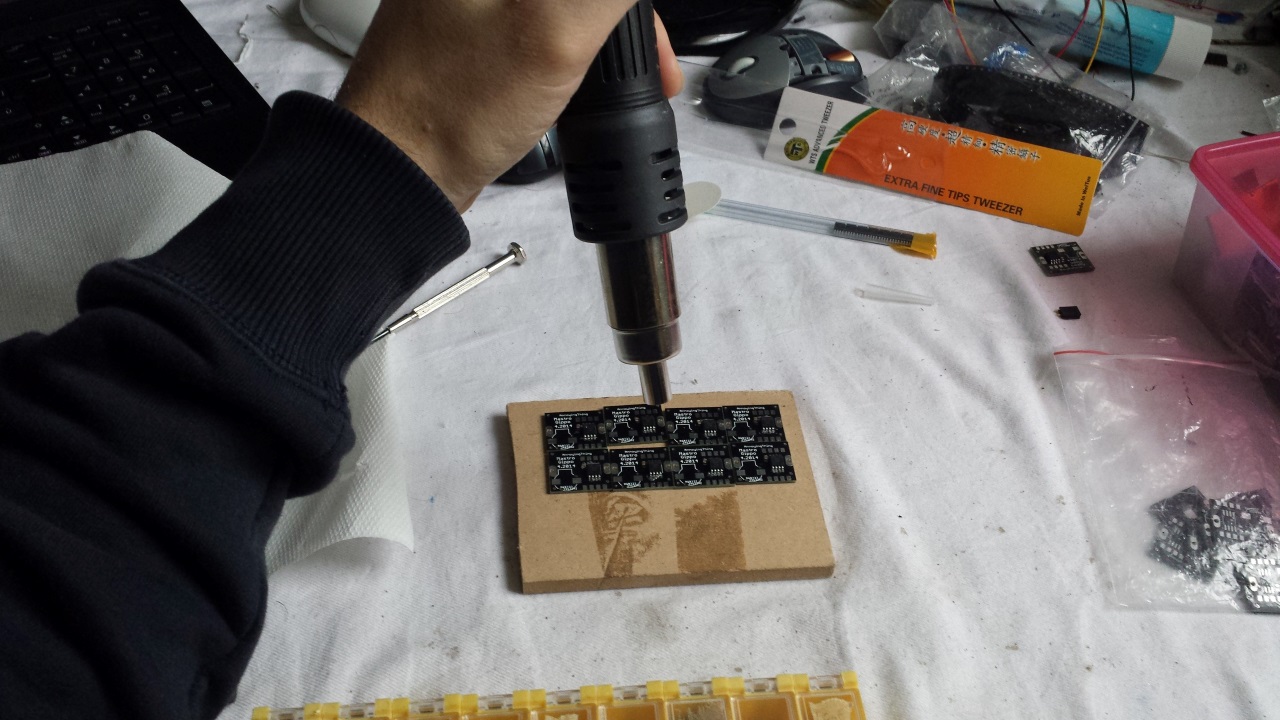
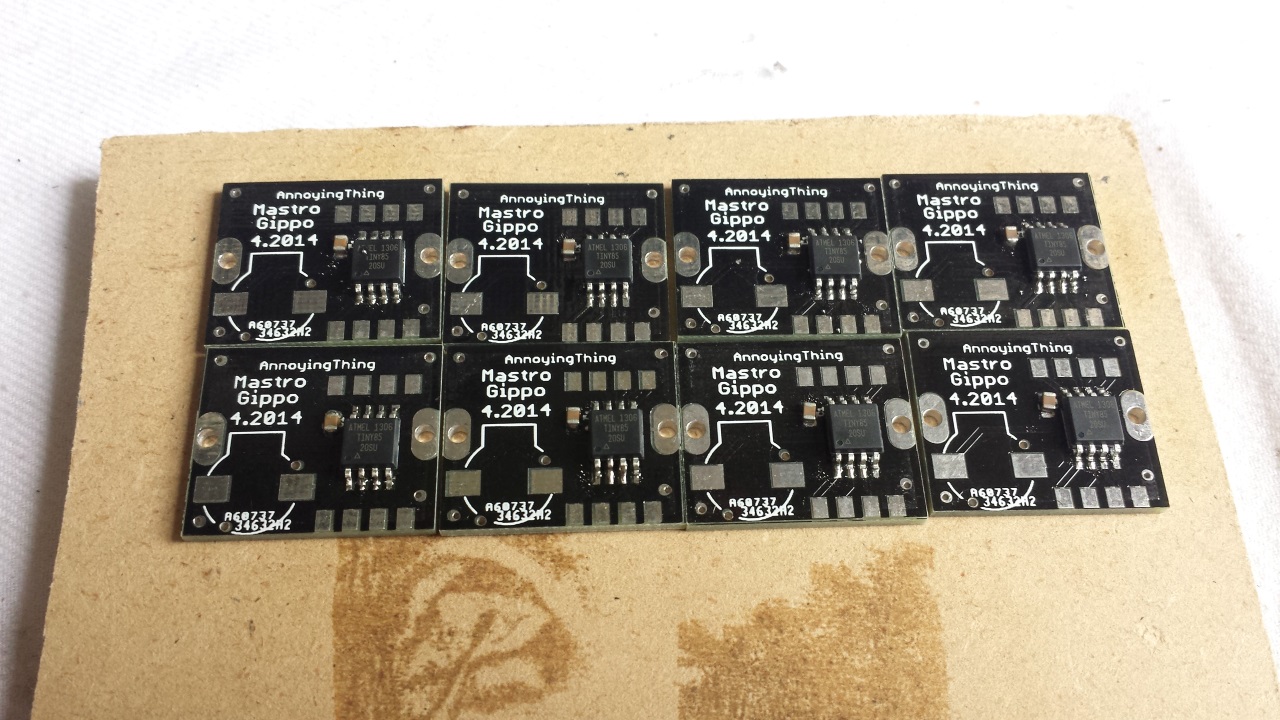
In Shenzhen I learnt how to rework BGAs and acquired some new toys, so while I feel totally confortable soldering the SMD components with my trusty iron, I wanted to test my new hot air station. I didn’t order a stencil for a project that simple, but the interesting properties of the solder and the solder mask allows me to randomly throw some solder paste on the pads, place the components in their approximate location and just heat up the boards. The surface tension of the solder will reposition the components nicely and the impermeability of the solder mask will eliminate all the shorts.
What is worth doing is also (sometimes) worth overdoing
But the fun doesn’t stop here! To program the boards I could solder 6 wires to each one or waste a connector to make a faster connection. This becomes either impractical or expensive as you increase the production volume, so we usually build test fixtures and add test pads to our design for a faster automated programming and testing routine. Here’s a test jig used in Seeed studio laboratory to test Arduino shields:

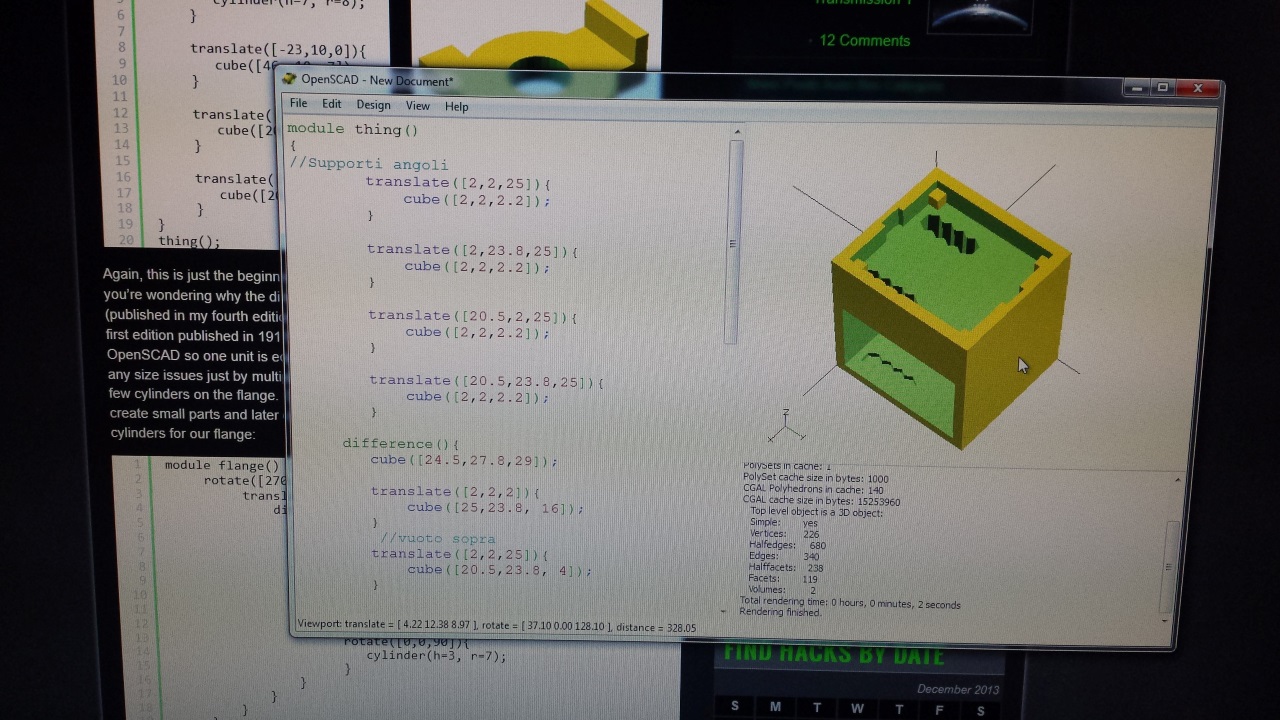
Of course I purchased a hundred pogo pins in the markets, so while I was building only a few Grillinos, I used this project as an excuse to try to design a 3D printed test jig, and I used this as an excuse to learn how to use OpenSCAD!

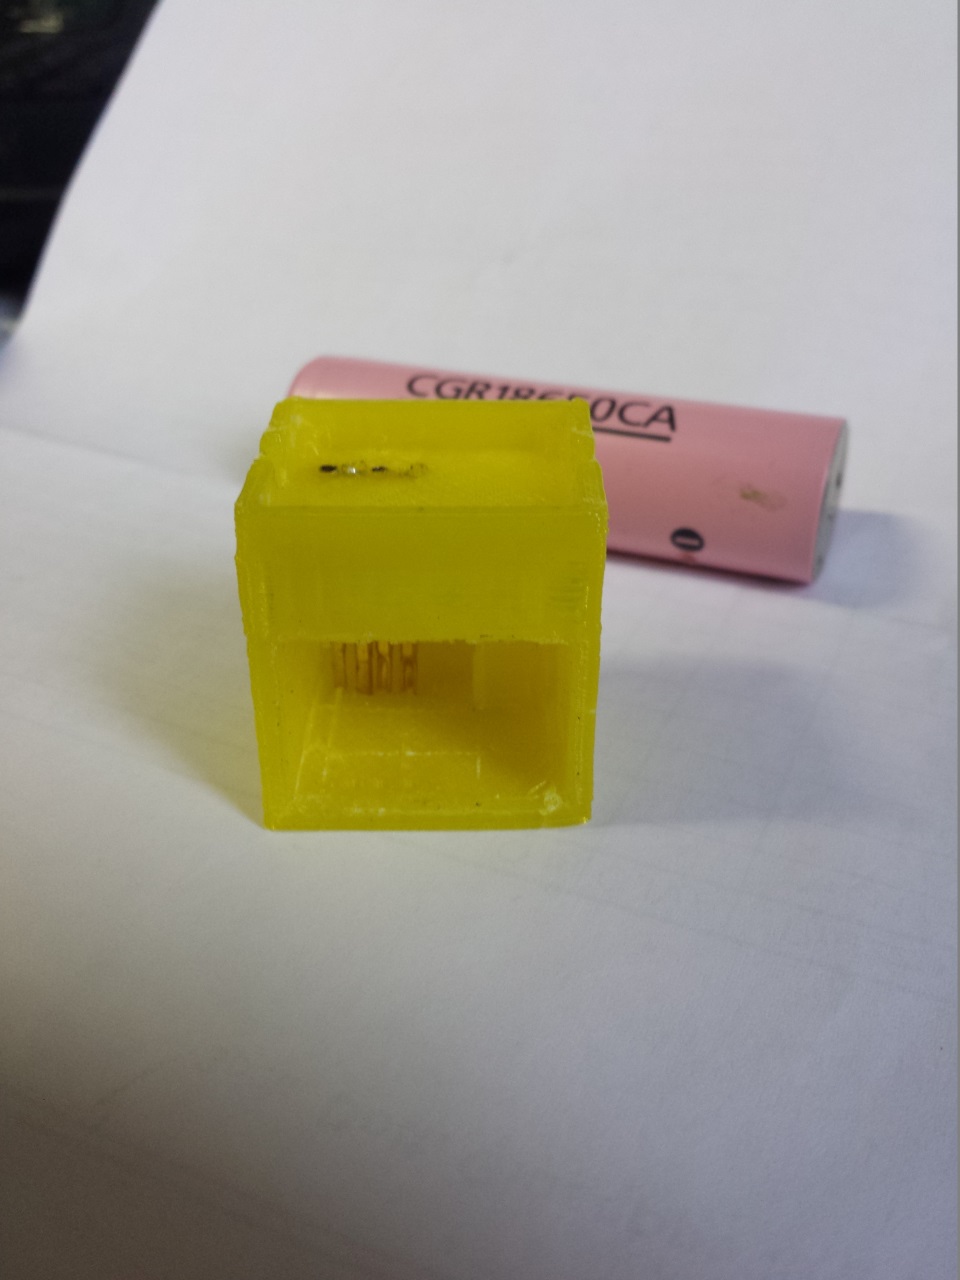
The “cube” had a few problems. My printer is still brand new and can still use some fine tuning, so the holes were a bit smaller. I drilled them, and used the soldering iron to heat and push the pins into the plastic. This resulted in a nice and snug fit, I’m very satisfied by the result.
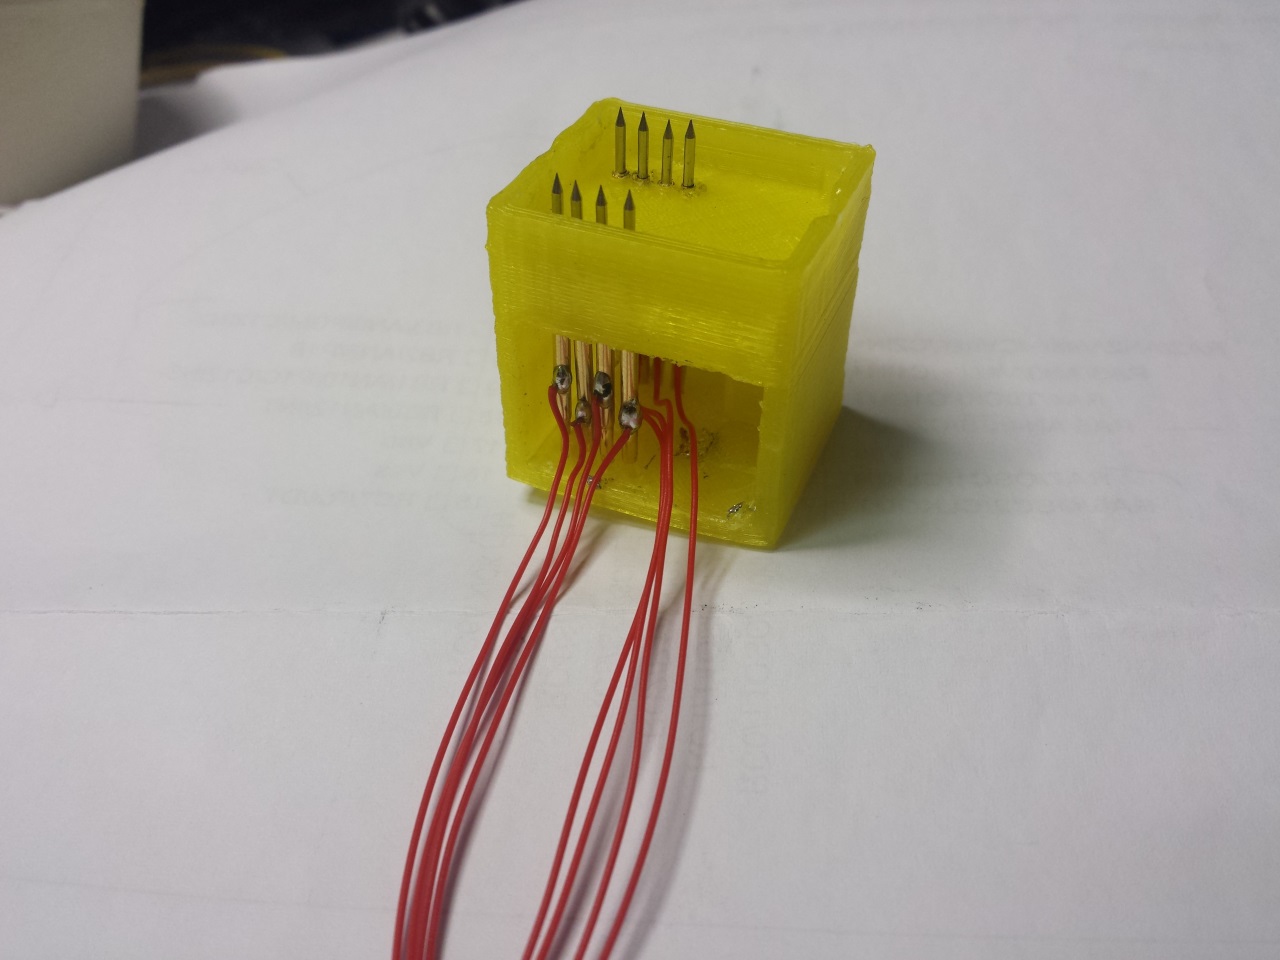
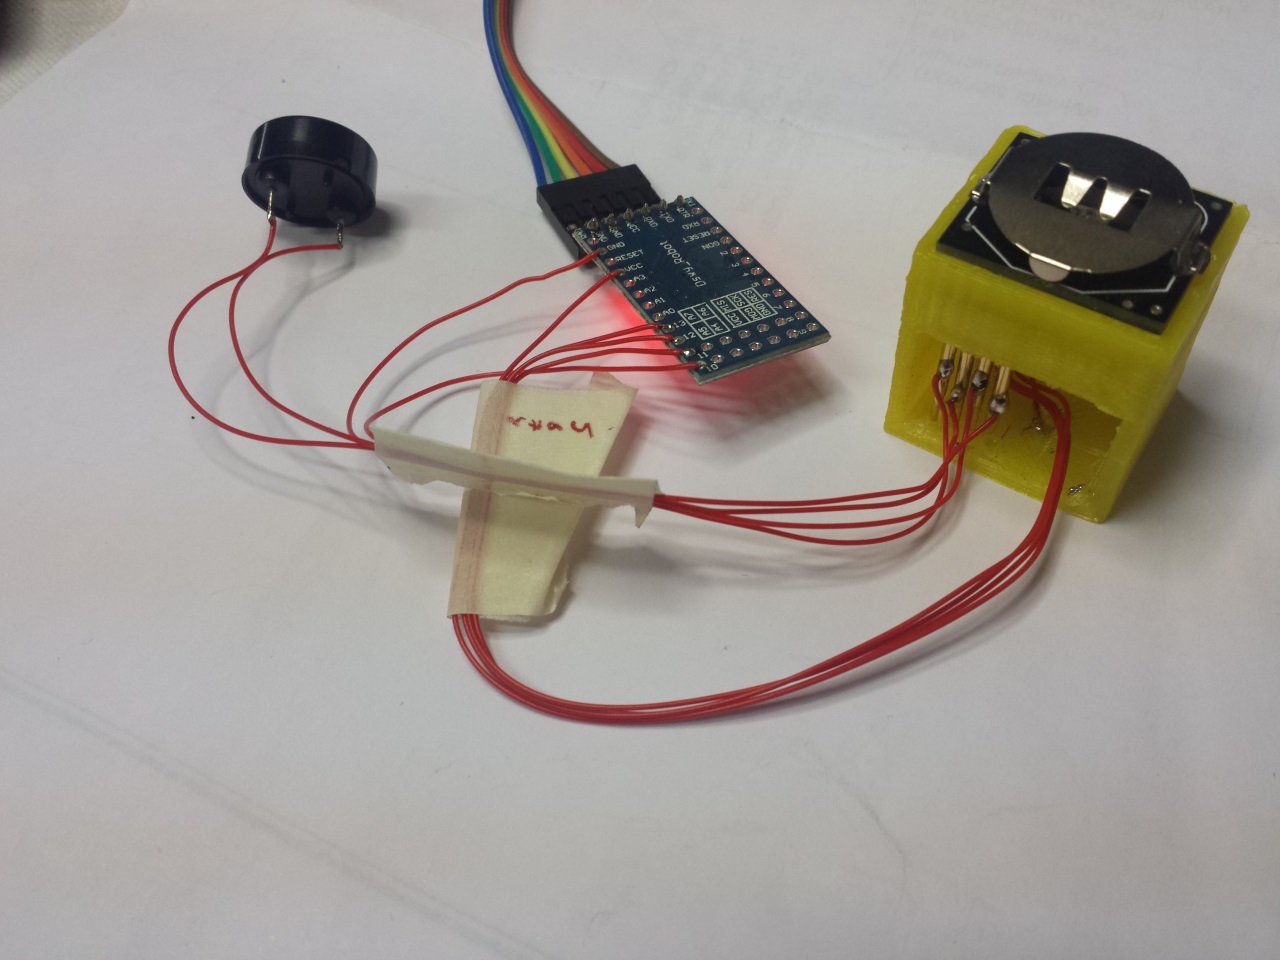
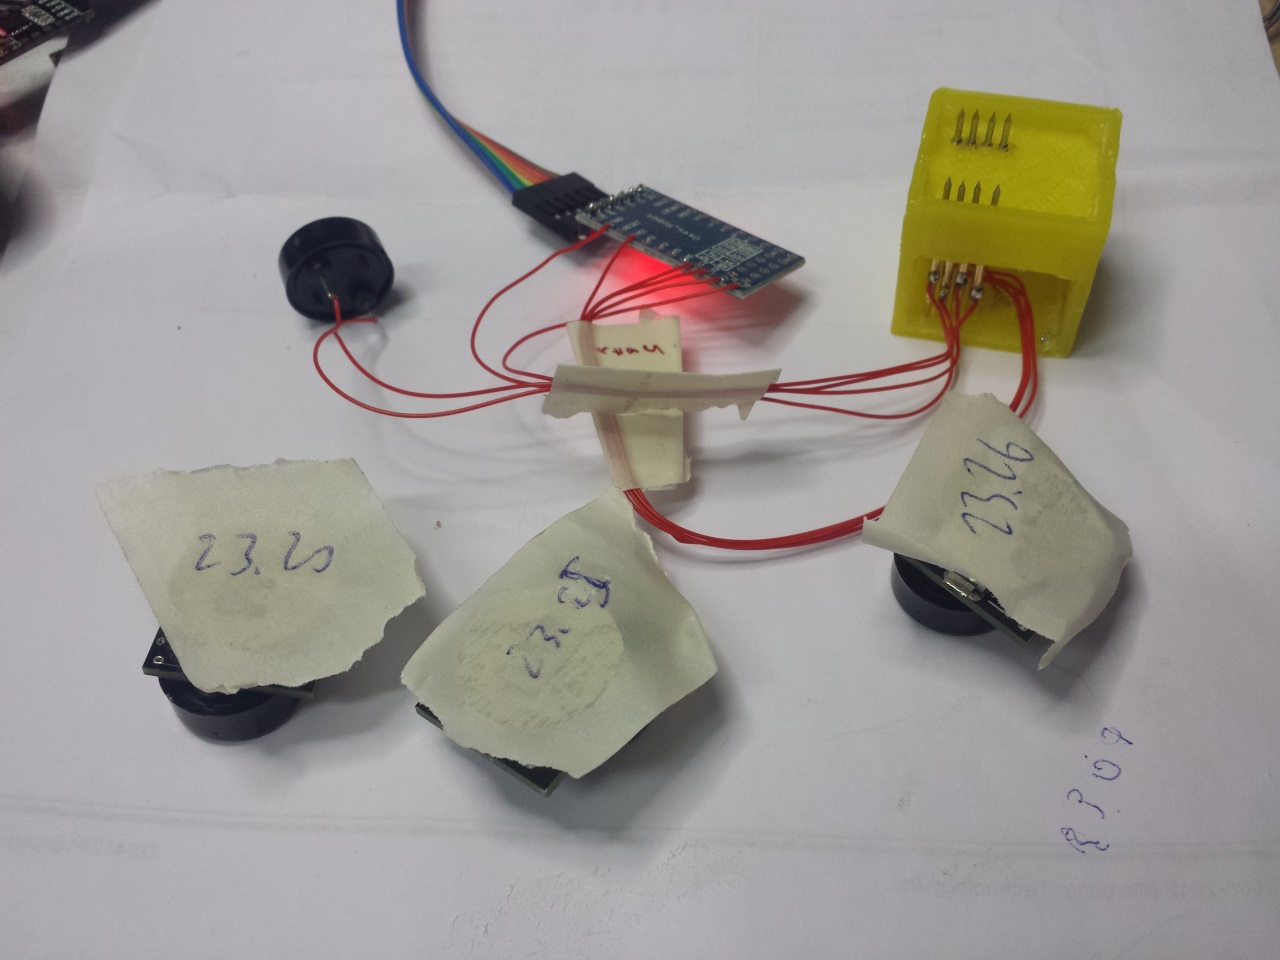
I didn’t have space to place pilot holes on the PCB so positioning is a bit difficult, and I had to sand the box borders because the PCB didn’t fit, but in the end everything worked out nicely and I programmed and tested all the 8 PCBs I made in less than 5 minutes. I used an Arduino Pro Mini as an ISP programmer and connected an external piezo to test the sound.
And here I’m testing a few Grillinos, logging the time to check if the randomization works (spoiler: it works, and I even got scared when it chirped while I was deeply concentrated):
Seeking perfection
This was my first project with the ATTiny series of microcontrollers, as I’ve always been a Microchip fan. I wanted to dig a bit deeper into the low power features and test the current comsumption to estimate the battery life.
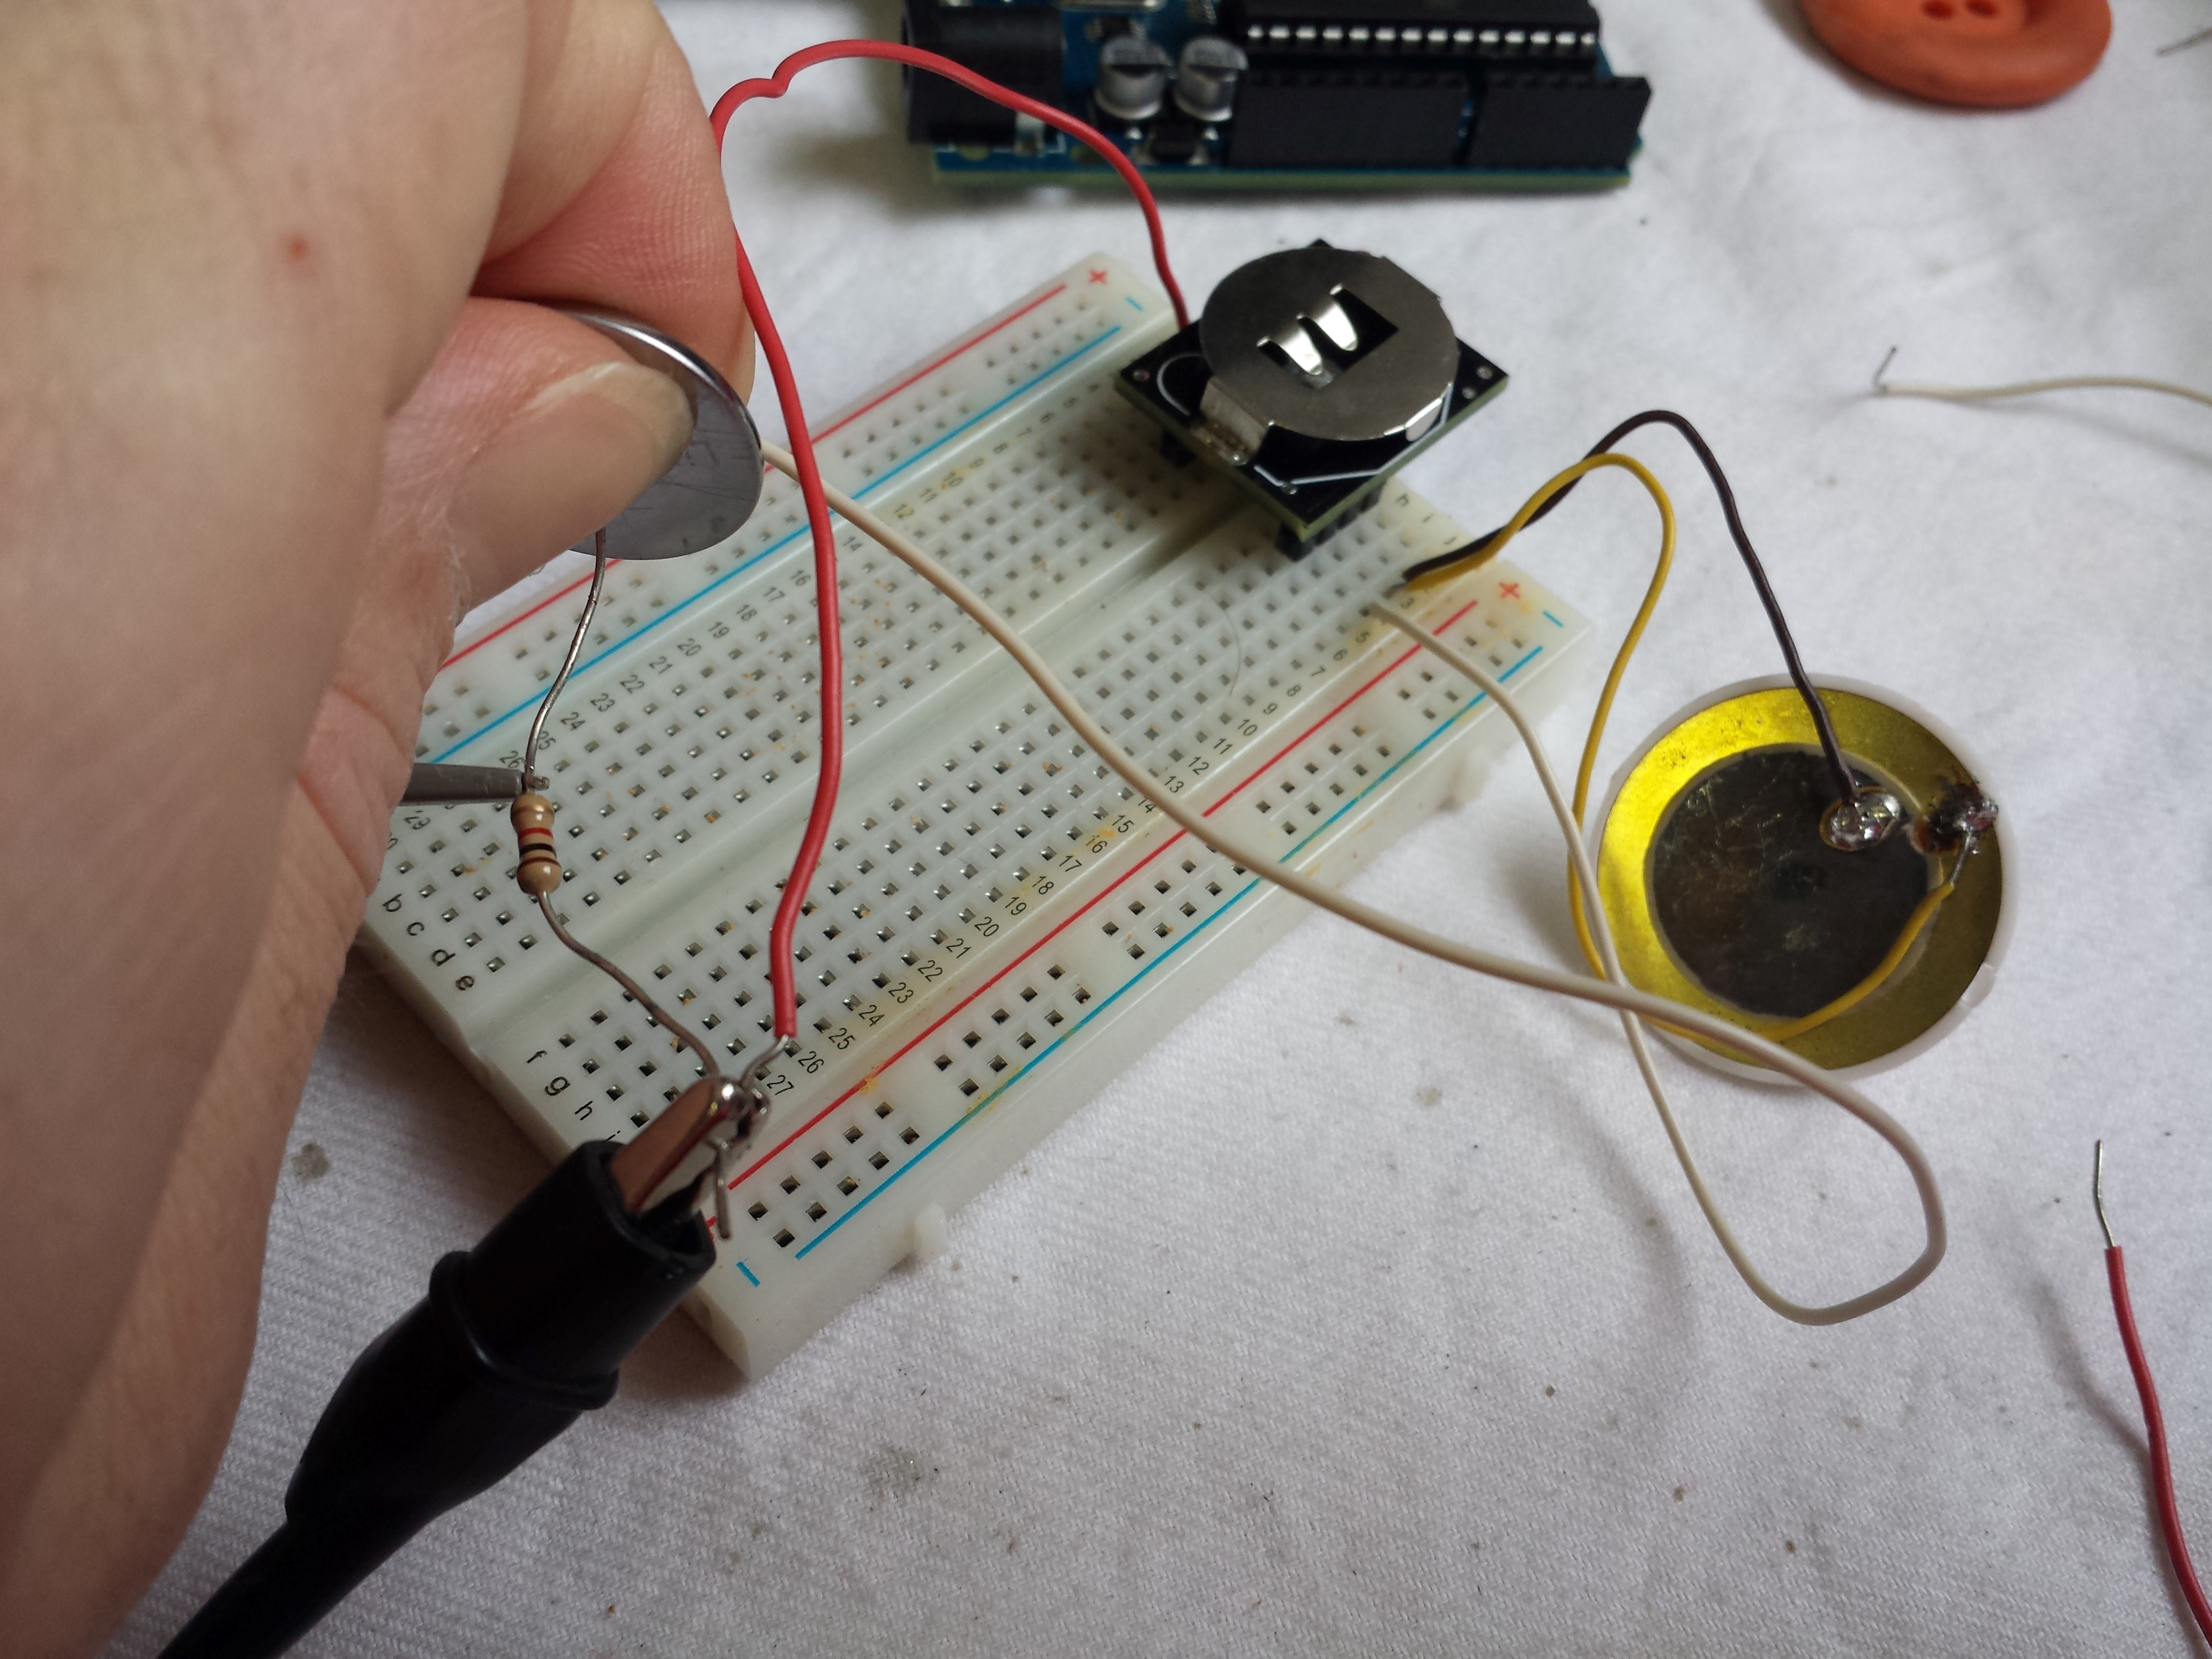
I don’t have a µCurrent so I had to resort to the old “big resistor” method, placing a 100Ω resistor in series with the battery and measuring the voltage drop with my trusty oscilloscope:
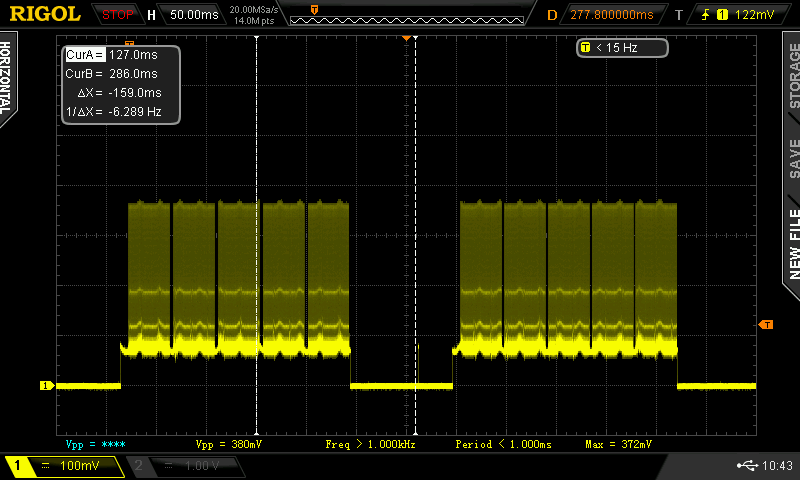
Turns out the piezo is draining peaks of 3.6mA, and with some measuring I can determine how long it will drain that amount of current during the awake period. The microcontroller alone eats 1mA while awake and 0.22mA while asleep. Considering an average period of 1.5 hours (1 hour constant + a random interval between 0 and 1 hour), the average consumption turns out to be about 0.23mAh that will drain my 200mAh CR2032 battery in about 36 days.
36 days are not enough, and certainly not what I would expect from a low power microcontroller. The biggest problem here is the sleep power consumption of 0.22mAh. After a quick review of the datasheet, it was clear that the Narcoleptic library didn’t disable the ADC before putting the micro to sleep. It was just a matter of adding:
ADCSRA &= ~(<<ADEN); //Disable ADC, saves ~230uA
and the ~220µA magically transformed into a far more manageable ~4µA (I had to measure it with a 1KΩ resistor):
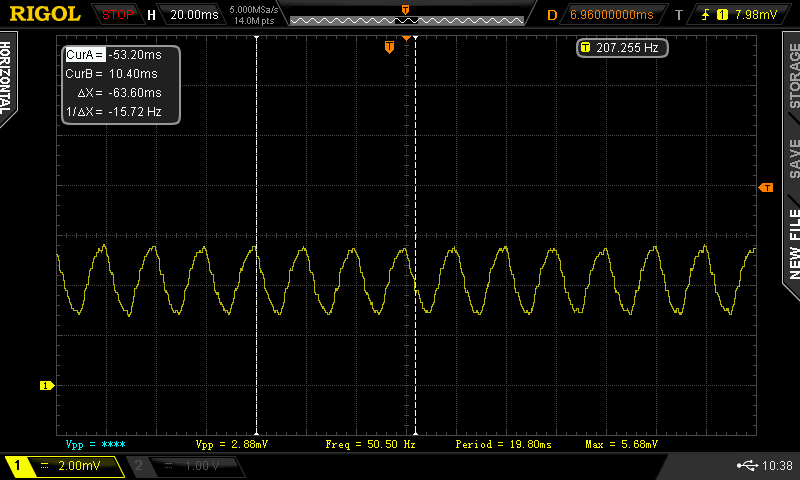
which should give me a battery life of at least 1 year!
Conclusion
And here’s a 20 second demo of the result:
This project was just a silly and fun way to experiment the development of a product in Shenzhen, without committing to the 4 months Haxlr8tr program. I failed at meeting the 24 hours goal, but I learnt a lot along the way, met awesome people, visited an incredible city and had lots of fun, and that is the real achievment here. I will keep this whole experience in my heart and in my skin forever, as the last day in Shenzhen I got this tattoo:

grillino.zip contains source code for the sketch, the test jig, schematics and PCB
Great Write up! Inspires me to visit the World’s Electronics Capital! :D
You should! Find an excuse to do it, you won’t regret it!
Il titolo è forse il gioco di parole più azzeccato del ventunesimo secolo, è tipo l’allineamento di tutti i pianeti ;D
Salve Mastro Gippo,
Grande! ben fatto.
Purtroppo sono venuto a conoscenza dell’evento troppo tardi, altrimenti mi avrebbe fatto molto piacere partecipare.
Ciao,
Pier da Singapore